SVG files are a popular choice for Cricut users because of their scalability and versatility. Whether you’re making custom T-shirts, vinyl decals, or home decor, SVG files make it easy to create professional-looking designs. In this guide, we’ll walk you through the process of cutting SVG files with your Cricut machine. Plus, don’t forget to check out our SVG shop for amazing designs!
What You’ll Need
- A Cricut machine (Explore Air 2, Maker, etc.)
- Cricut Design Space software
- An SVG file (download from our SVG shop)
- Cricut cutting mat
- Material for your project (vinyl, cardstock, iron-on, etc.)
Step 1: Download an SVG File
Start by downloading an SVG file from a trusted source like our SVG shop. We offer a wide range of designs, from Animals SVG to Holidays SVG.
Step 2: Upload the SVG File to Cricut Design Space
- Open Cricut Design Space and click on “New Project.”
- Click on “Upload” in the left-hand menu.
- Select “Upload Image” and choose your SVG file from your computer.
- Once uploaded, click on the image and select “Insert Image” to add it to your canvas.
Step 3: Customize Your Design
After inserting the SVG file into your canvas, you can customize it as needed:
- Resize: Click and drag the corners of the design to resize it.
- Rotate: Use the rotate icon to adjust the angle of the design.
- Edit Layers: If your SVG file has multiple layers, you can edit or hide them using the “Layers” panel.
For more design inspiration, explore our Quotes SVG collection.
Step 4: Prepare for Cutting
- Click “Make It” in the top-right corner of the screen.
- Arrange your design on the virtual mat to match your material size.
- Select the material you’re using (e.g., vinyl, cardstock, iron-on) from the dropdown menu.
- Load your material onto the cutting mat and insert it into your Cricut machine.
Step 5: Cut Your Design
- Follow the on-screen instructions in Cricut Design Space to start cutting.
- Once the cutting is complete, carefully remove the material from the mat.
- Use a weeding tool to remove any excess material from your design.
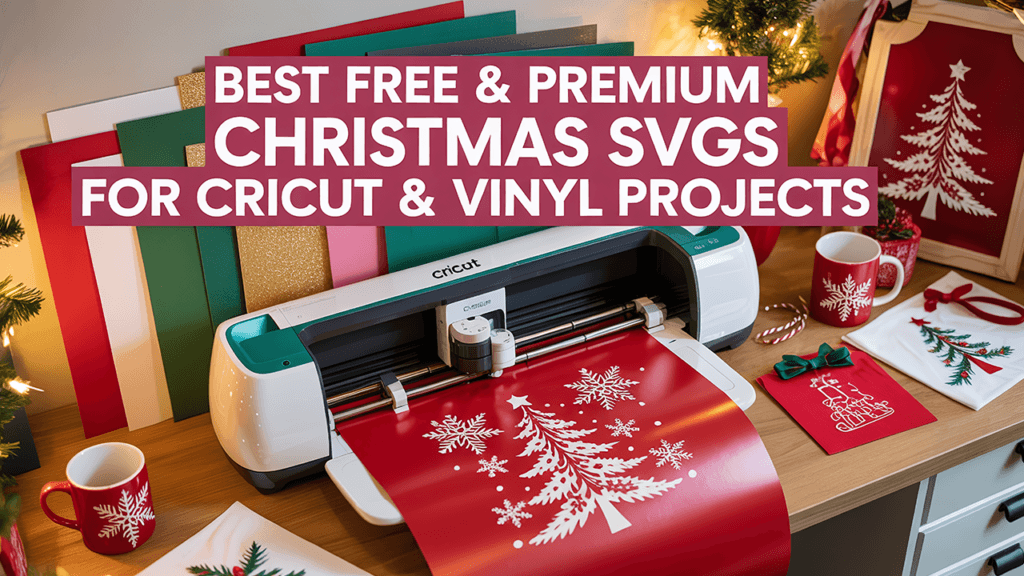
For seasonal projects, check out our Christmas SVG collection or our Halloween SVG collection.
Step 6: Apply Your Design
Depending on your project, you can now apply your design:
- Vinyl Decals: Use transfer tape to apply the design to your surface.
- Iron-On: Use a heat press or iron to adhere the design to fabric.
- Cardstock: Assemble your design for cards, home decor, or other paper crafts.